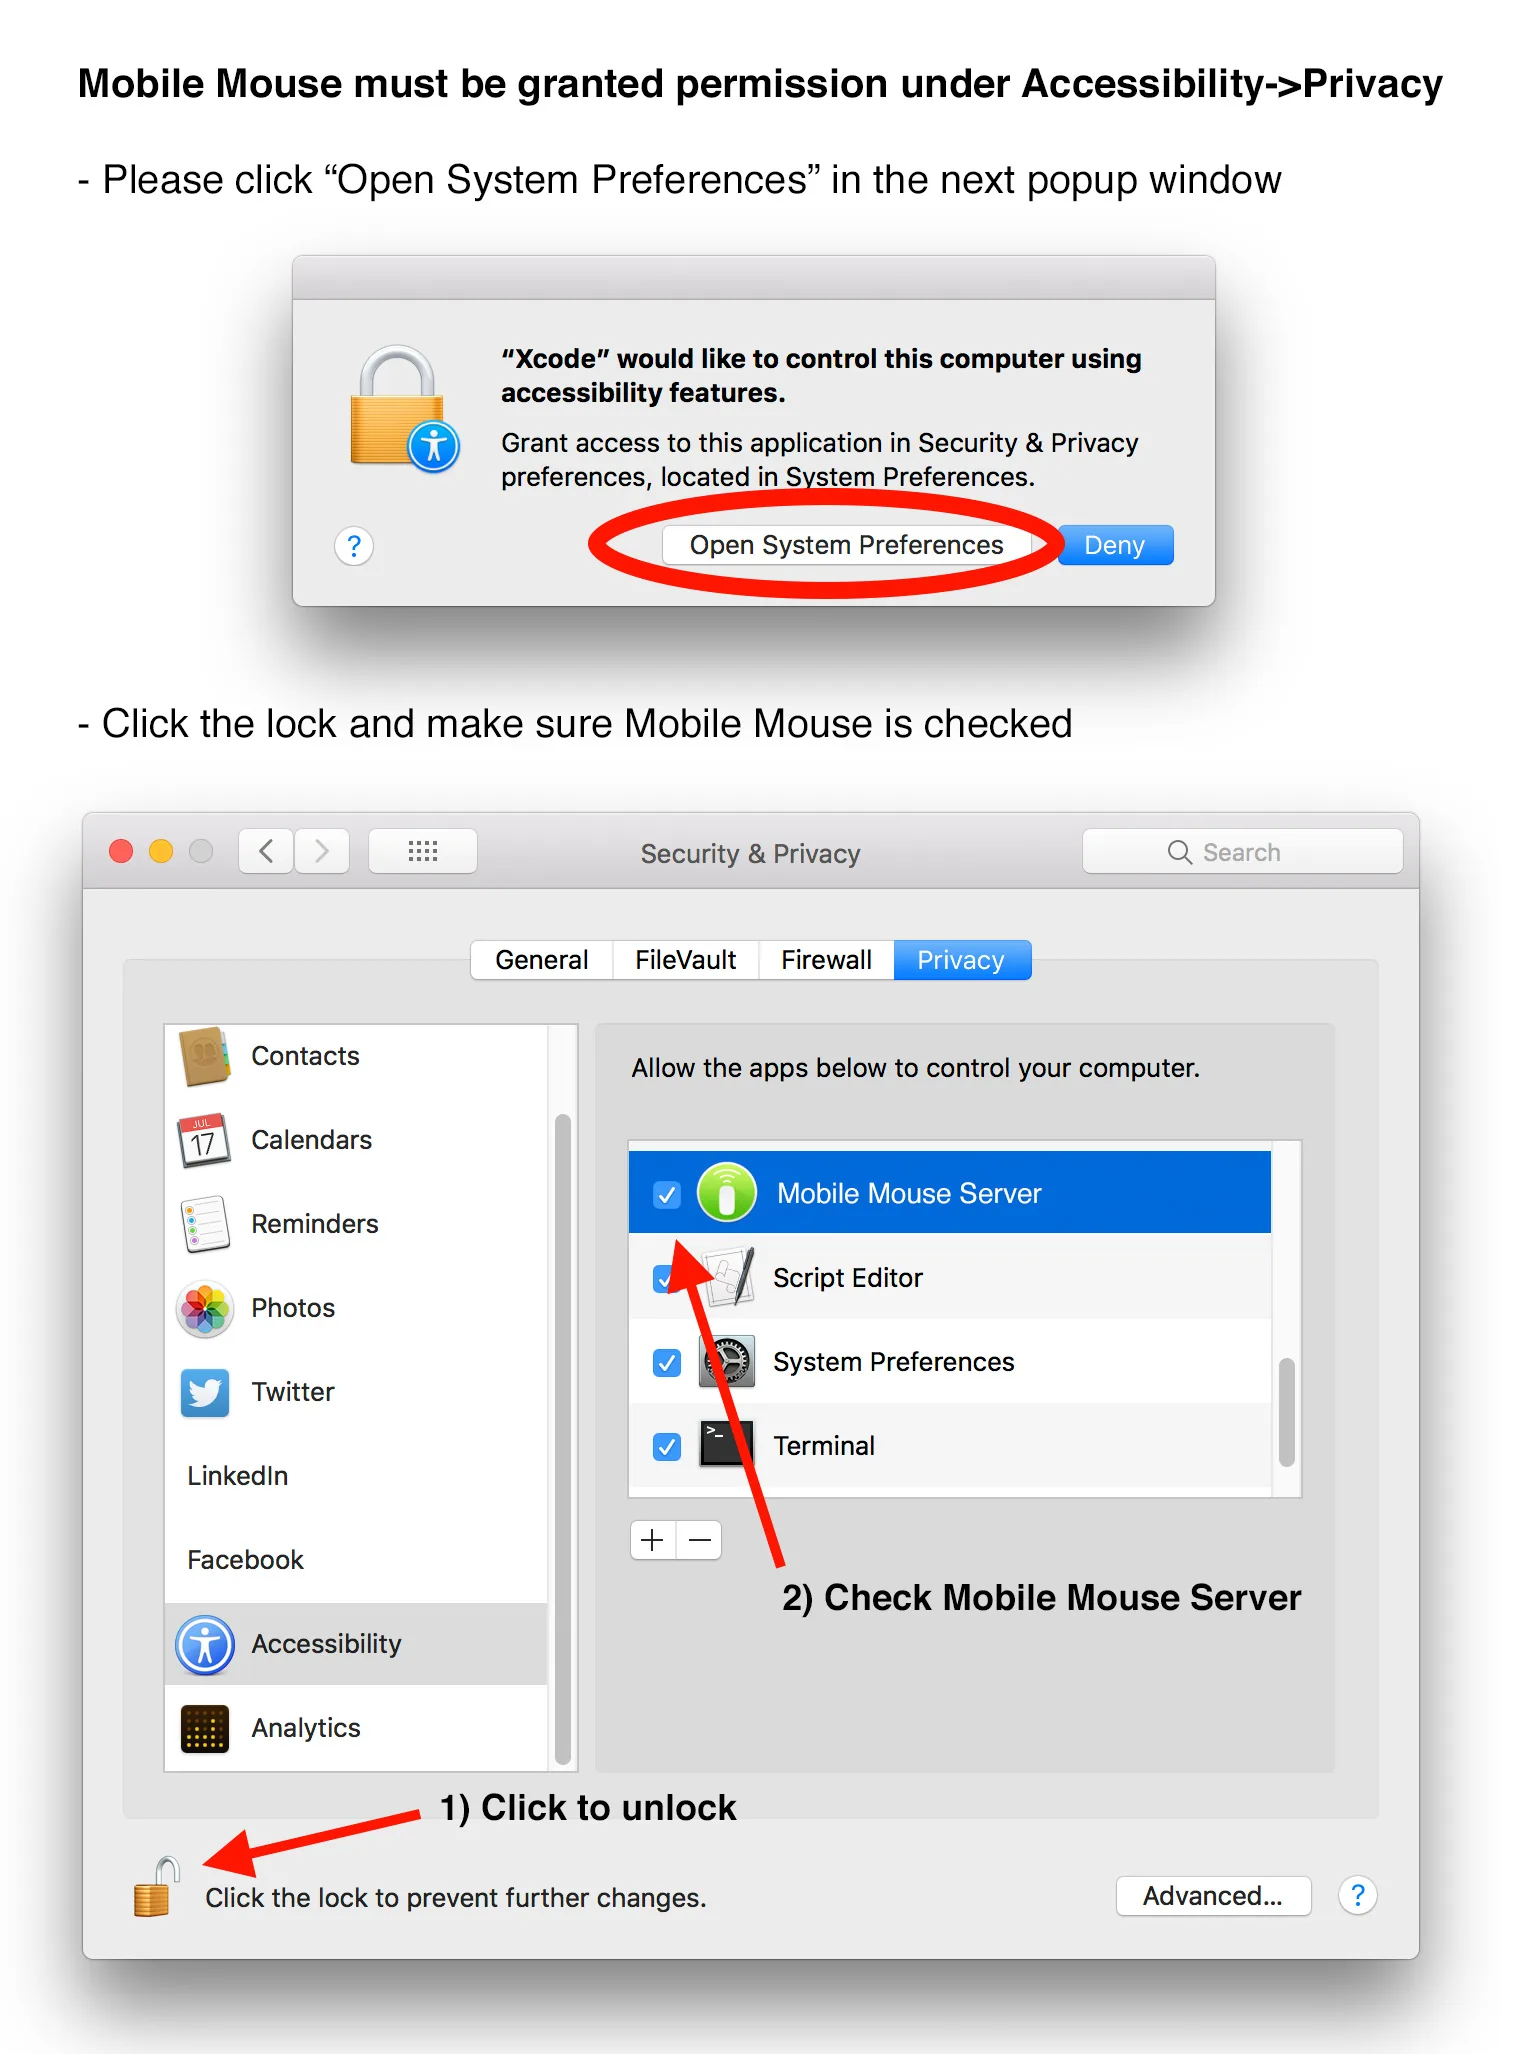
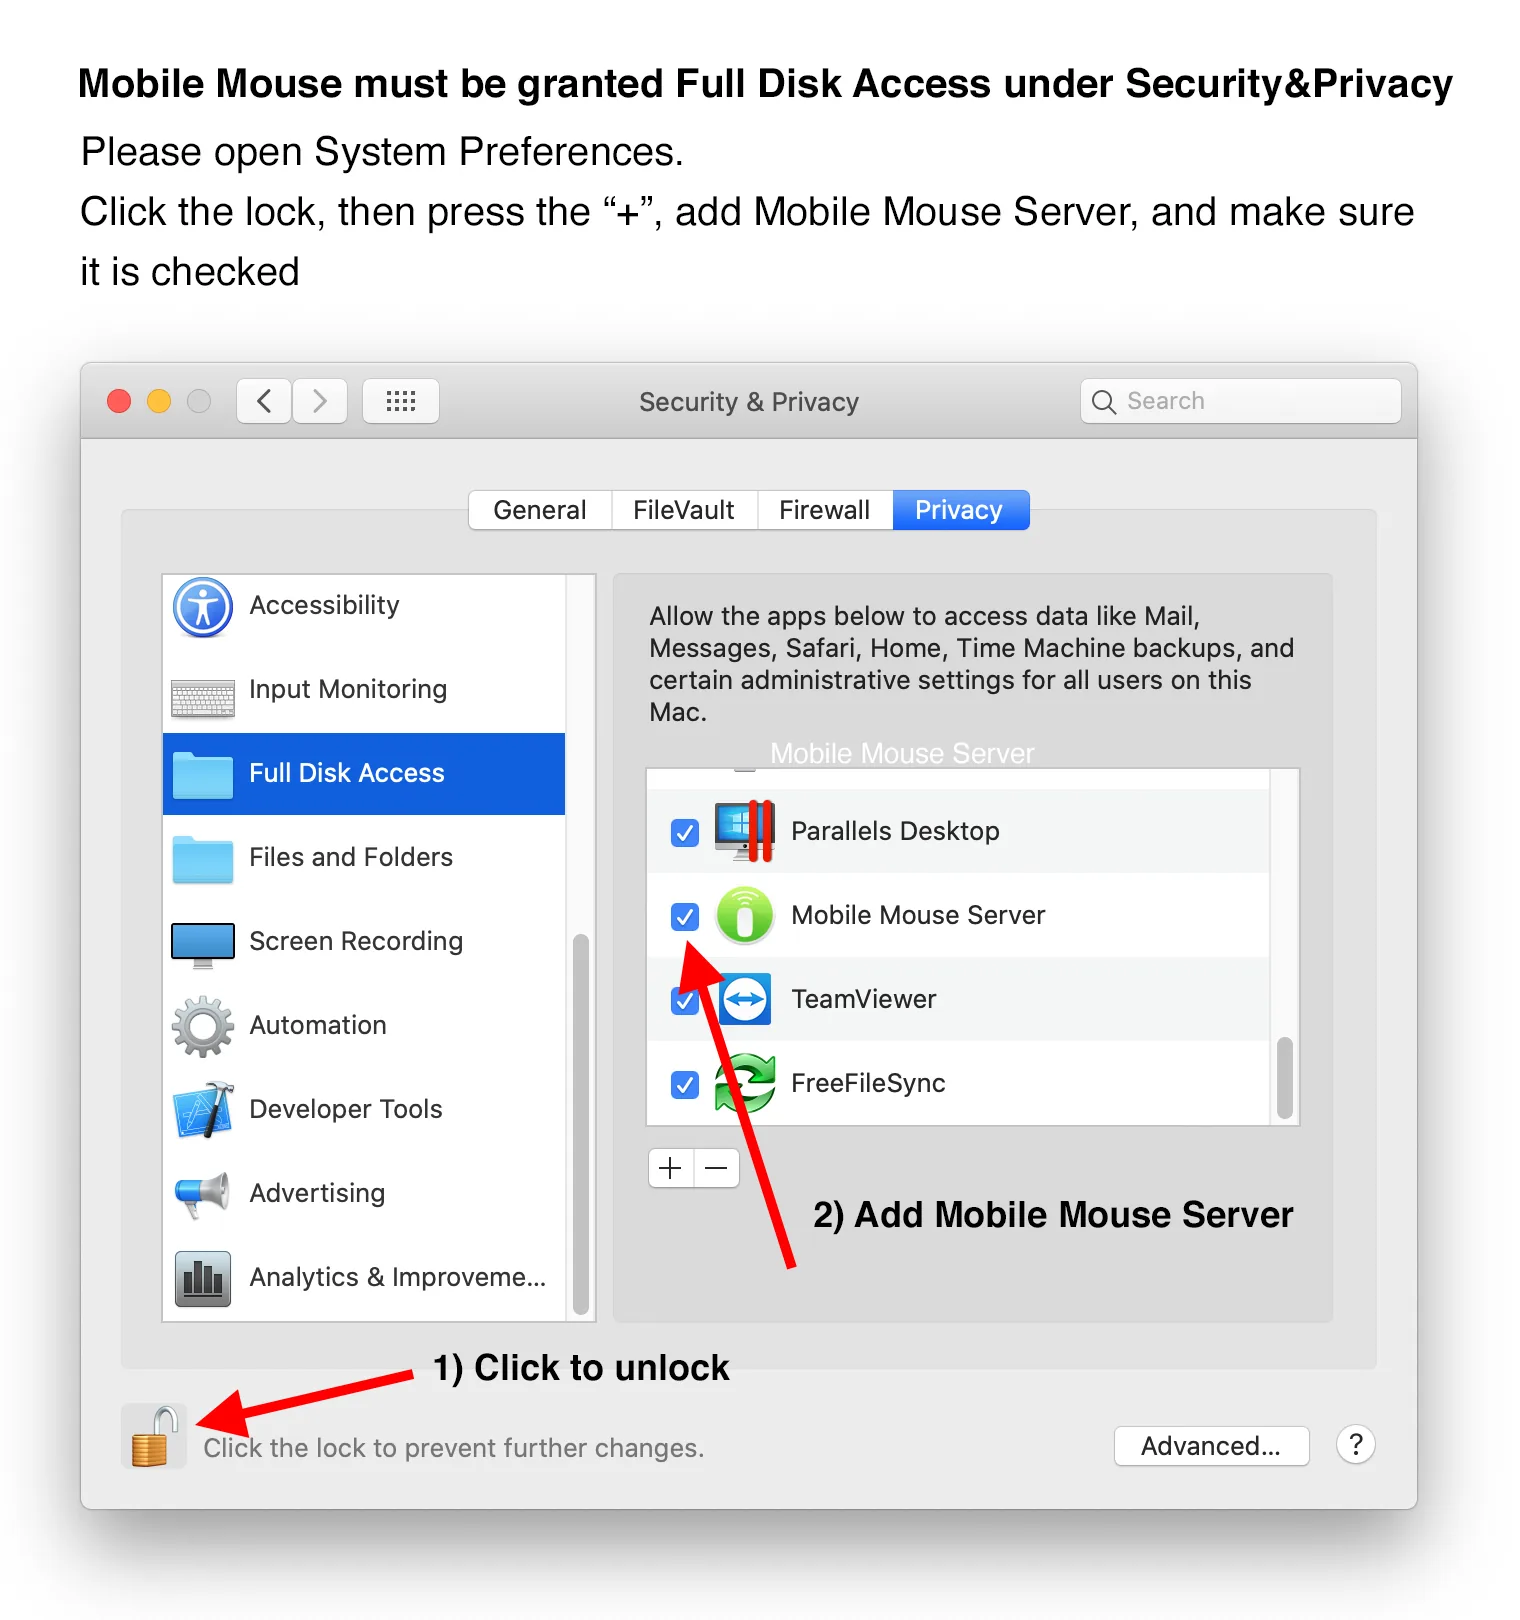
Enable Mobile Mouse under Accessibility so it can control the pointer and keyboard.If file or application access is unavailable, review the related Privacy & Security permission.
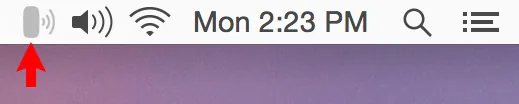
When the server is running, the Mobile Mouse icon appears in the Mac menu bar. Select it to open server settings or quit the server.
For Windows
Install on your PC.
Download and run the Windows installer.
Complete the setup screens and launch Mobile Mouse Server.
Allow the server through Windows Firewall and any third-party security software.
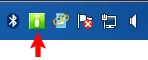
Confirm that the server icon appears in the system tray.
Open Mobile Mouse on your iPhone and select the PC.
Double-click the server icon in the Windows system tray to open its settings. Right-click it when you need to quit.
Connectivity
Three ways to connect.
Local network
Use this for normal connections at home, work, or anywhere you control the network. The iPhone and computer must be connected to the same router. Mobile Mouse should discover the computer automatically, and an outside internet connection is not required.
Peer-to-peer
Peer-to-peer creates a direct Wi‑Fi connection between the iPhone and a Mac when a normal local network is unavailable. It requires a Mac and must be enabled in both the Mobile Mouse app on the iPhone and Mobile Mouse Server on the Mac.
Enable peer-to-peer only when you need it. Leaving it enabled during normal local-network use can affect connection and mouse performance.
Cloud Connect
Cloud Connect lets the iPhone reach the computer over the internet, including while the iPhone is using a cellular network. The user must be logged in to the same Mobile Mouse account in the computer server and the iPhone app. Cloud Connect requires an active subscription, and the computer must remain online with Mobile Mouse Server running.
Which connection should I use? Once you have an active Cloud Connect subscription and are logged in on both devices, Mobile Mouse automatically chooses the best available connection. It will use the local network when the iPhone and computer can reach each other through the same router, or connect over the internet when a local connection is unavailable. Enable peer-to-peer only when you do not have access to a Wi‑Fi network or the internet and need a direct connection between your iPhone and Mac.
Connect manually by IP address
Automatic discovery is the easiest option. If the computer does not appear—or you are connecting to a computer that is not advertised through Bonjour—open the app’s server list and enter the IP address and port shown by Mobile Mouse Server. A saved manual address takes priority over automatic discovery. Clear both fields so they show Auto when you want to return to the server list.
On the computer
Configure Mobile Mouse Server.
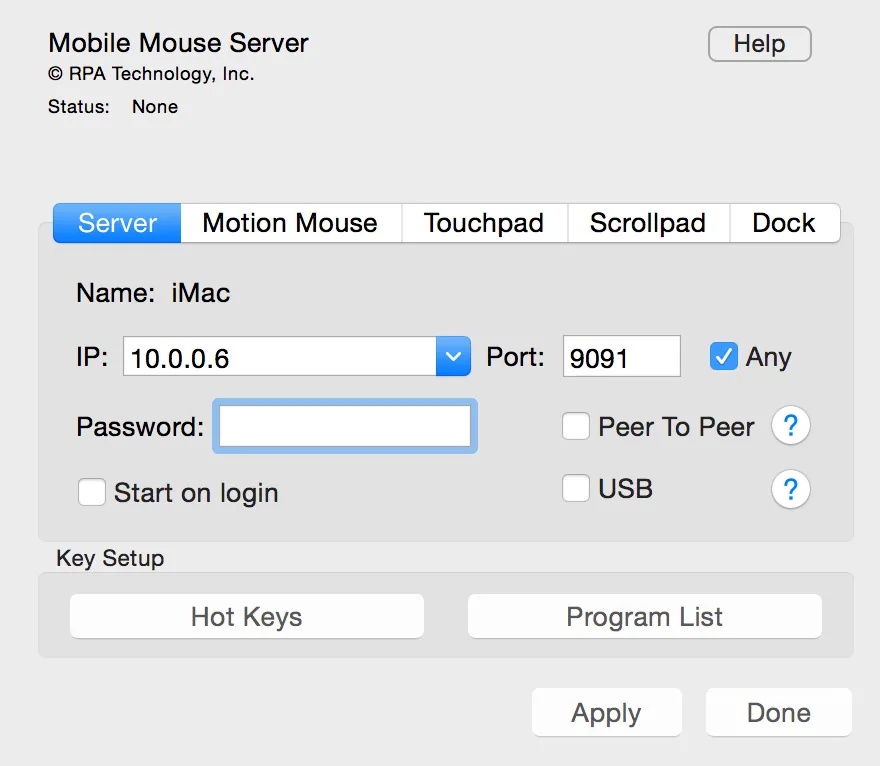
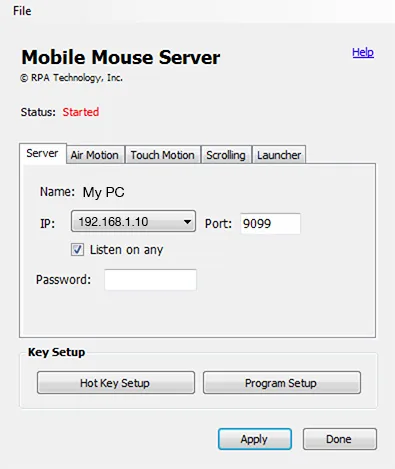
Mobile Mouse Server settings on Mac.Mobile Mouse Server settings on Windows.
Network and security
IP: Shows the address the server is using. If the computer has more than one address, choose the one you want. When selecting a specific address, turn off Listen on any.
Port: Sets the network port used by the server. Change it only when another application or network policy conflicts with it. Apply the change, then update any firewall rule and any manually saved address in the app.
Password: Requires a password when a new device connects. Leave it blank if one is not needed. To revoke devices that connected previously, change the password.
Air Motion
Pointer Speed X and Y: Adjust horizontal and vertical in-air pointer movement.
Acceleration: Makes quick hand movements travel farther while preserving precision during slower movements.
Touch Motion
Pointer Speed: Adjusts trackpad movement speed.
Acceleration: Makes faster swipes cover more screen distance and slower swipes remain precise.
Scrolling
X: Adjusts horizontal scrolling where the operating system and application support it.
Y: Adjusts vertical scrolling speed.
Application-aware controls
Set up programs and custom remotes.
Mobile Mouse Server includes managed definitions for common media and web applications. Managed definitions are maintained by Mobile Mouse; user-defined programs are created and maintained by you.
Open Mobile Mouse Server and select Program List.
Review the enabled managed programs. If you create your own definition for an application already in that list, disable the managed definition to prevent a conflict.
Select Add, then choose the application or executable you want to control.
Assign a keyboard shortcut to each action, or use AppleScript on Mac or VBScript on Windows where supported.
For media applications, name and program the eight custom keys for actions not covered by the standard controls.
Enable scroll pad navigation when the application uses arrow keys to move through menus.
Automatic updates: Managed application definitions are downloaded by the server as updates become available. Your user-defined programs remain under your control.
On iPhone and iPad
Use every control mode.
Trackpad
Move one finger to control the pointer; tap to click.
Scroll with two fingers in any direction.
Tap with two fingers for a right-click.
Use the left and right buttons for direct clicks. Hold the left button while moving on the trackpad to drag.
Rotate the device for landscape mode, or use the keyboard control to show or hide the keyboard.
In-air mouse
Point the device toward the computer and hold the trigger.
Move your hand like a laser pointer to move the cursor.
Release and reposition your hand whenever you need more range.
Tap the trigger to click. Holding a mouse button also activates movement for dragging.
Use the scroll area for scrolling and the swap control to return to the trackpad.
Keyboard
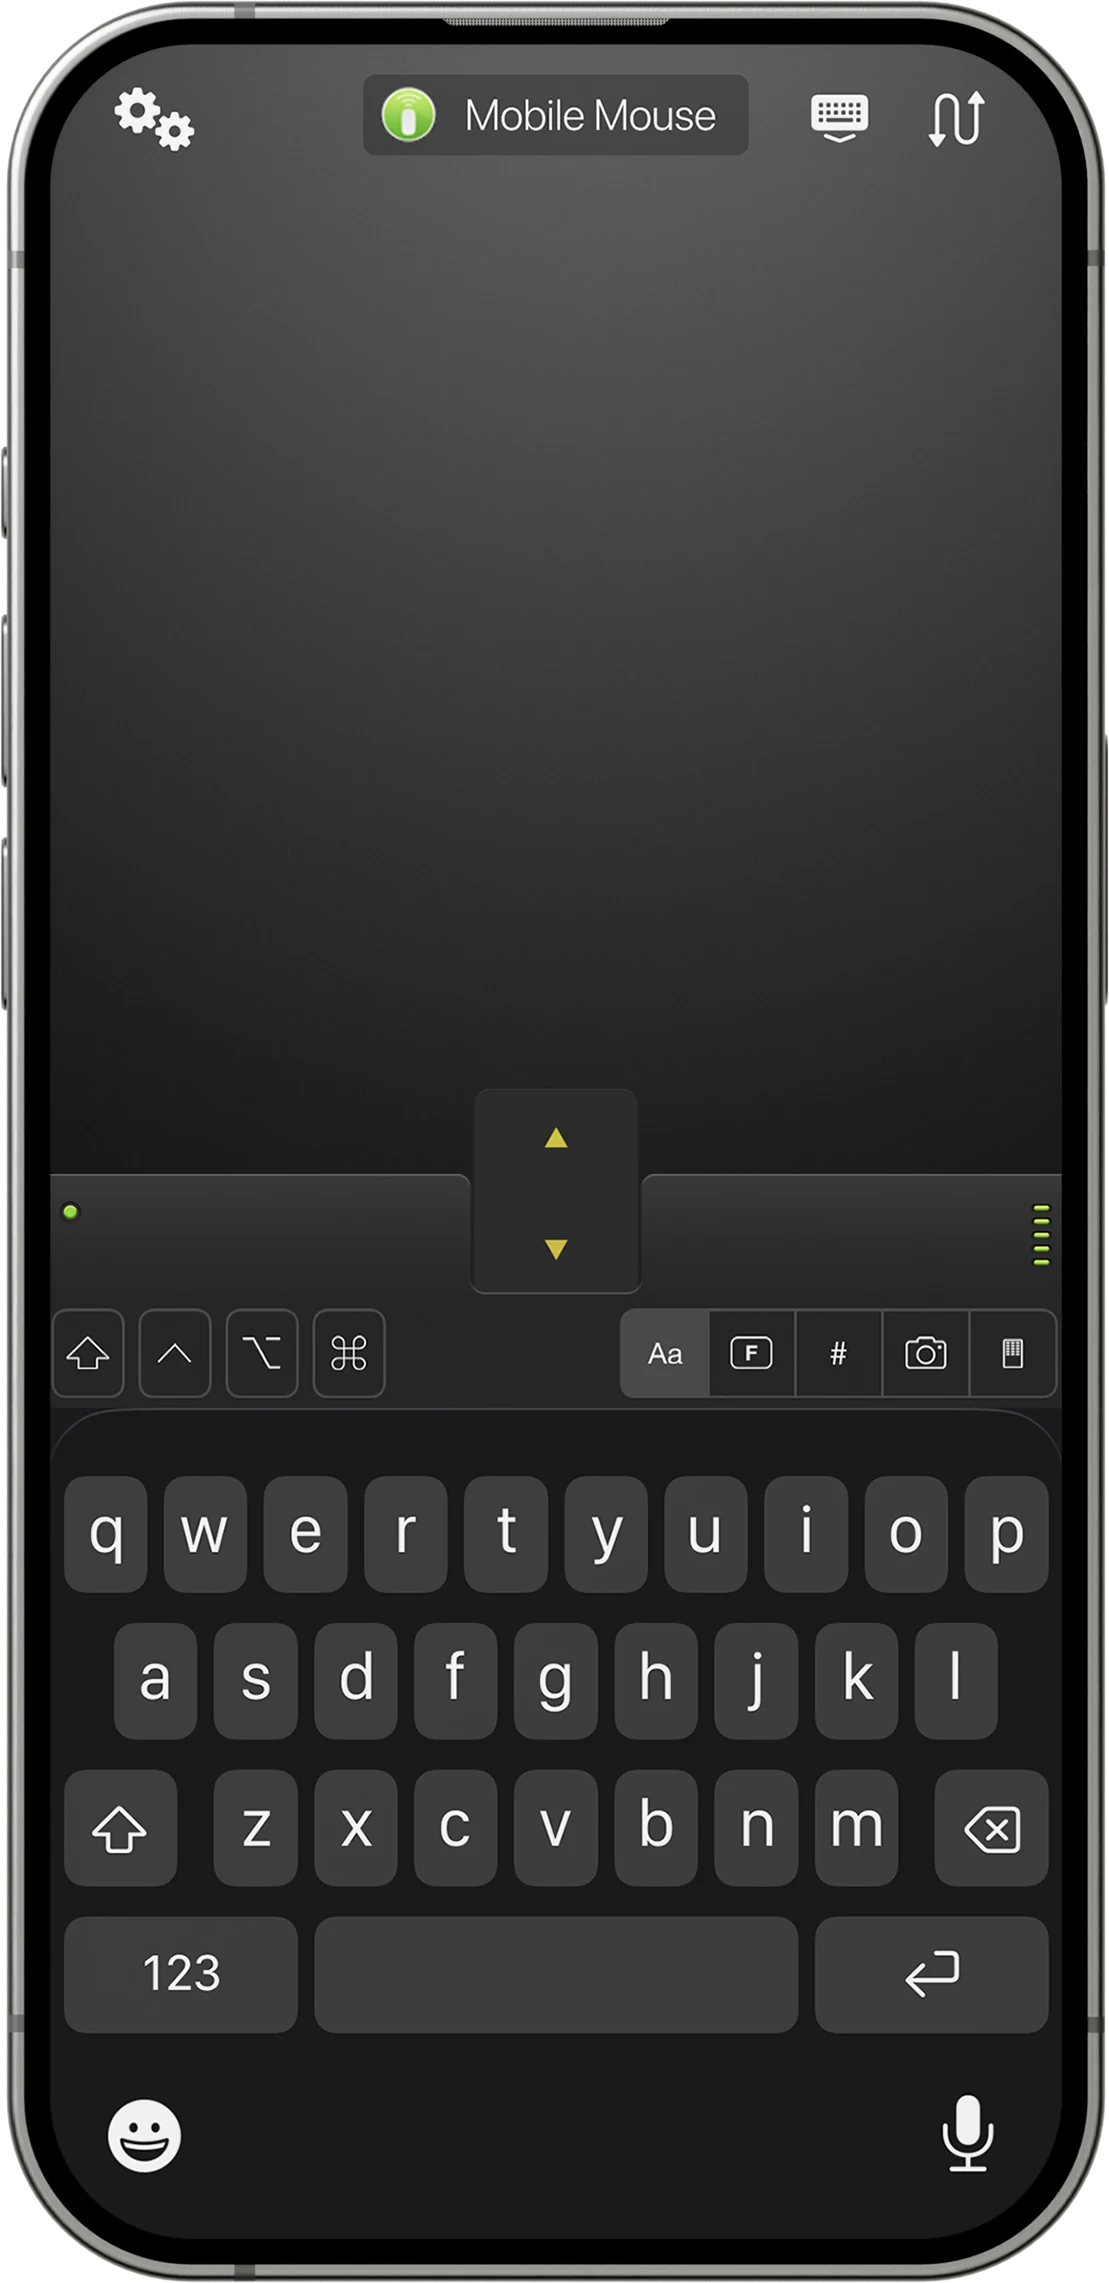
Type on the computer in portrait or landscape. Use Shift, Control, Option/Alt, Command/Windows and other modifier keys for shortcuts and modifier-clicks. Double-tap Return for Tab. Hide or reveal the keyboard with its toolbar control, or with the shake gesture when that option is enabled.
Application switcher
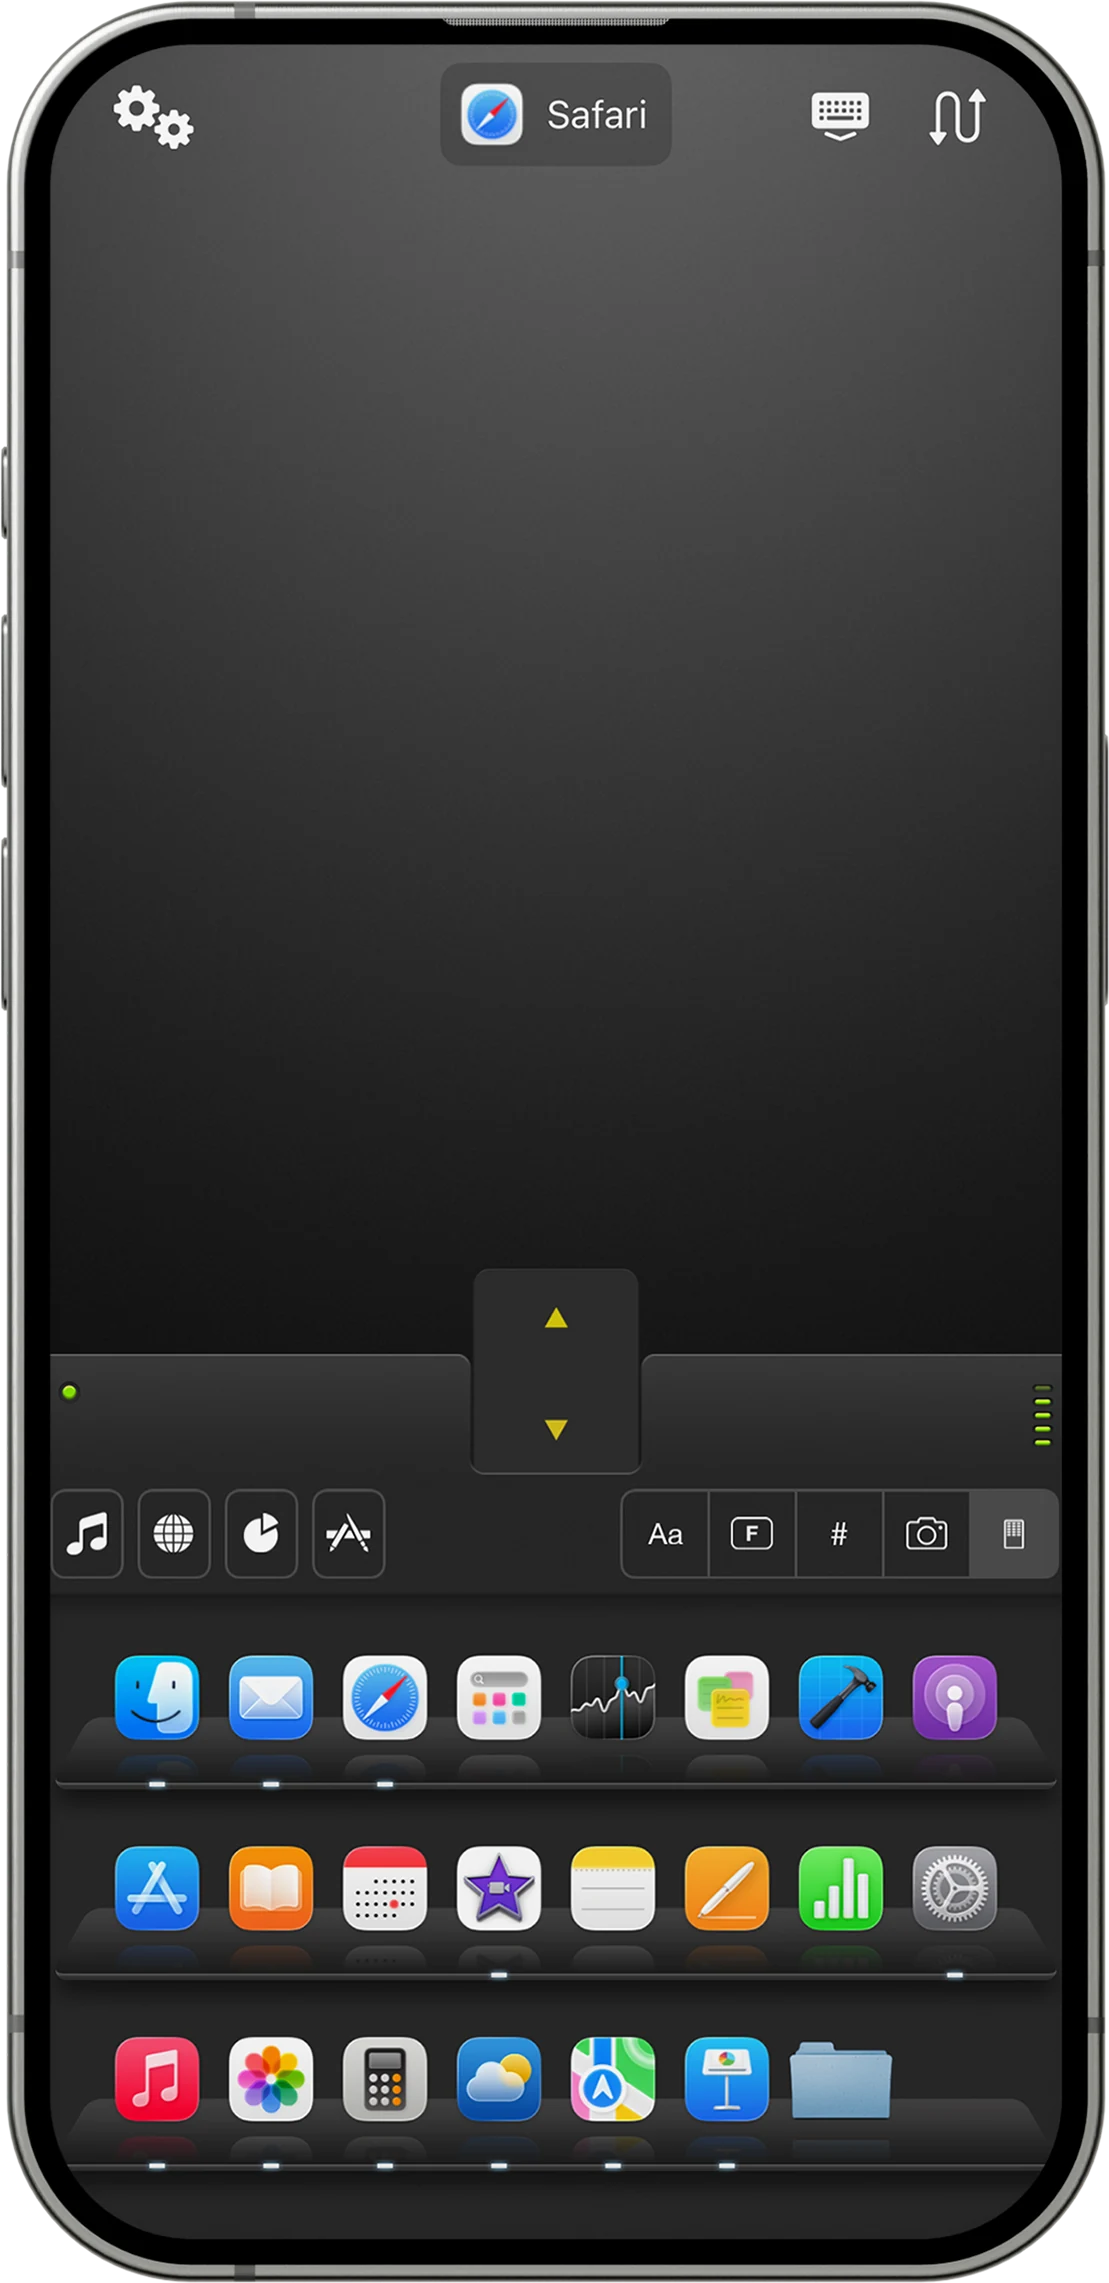
Browse running and favorite applications, tap an icon to launch or switch, and press and hold for actions such as Open, Hide, or Close. Press and hold the operating-system icon to access sleep or shutdown options.
File browser
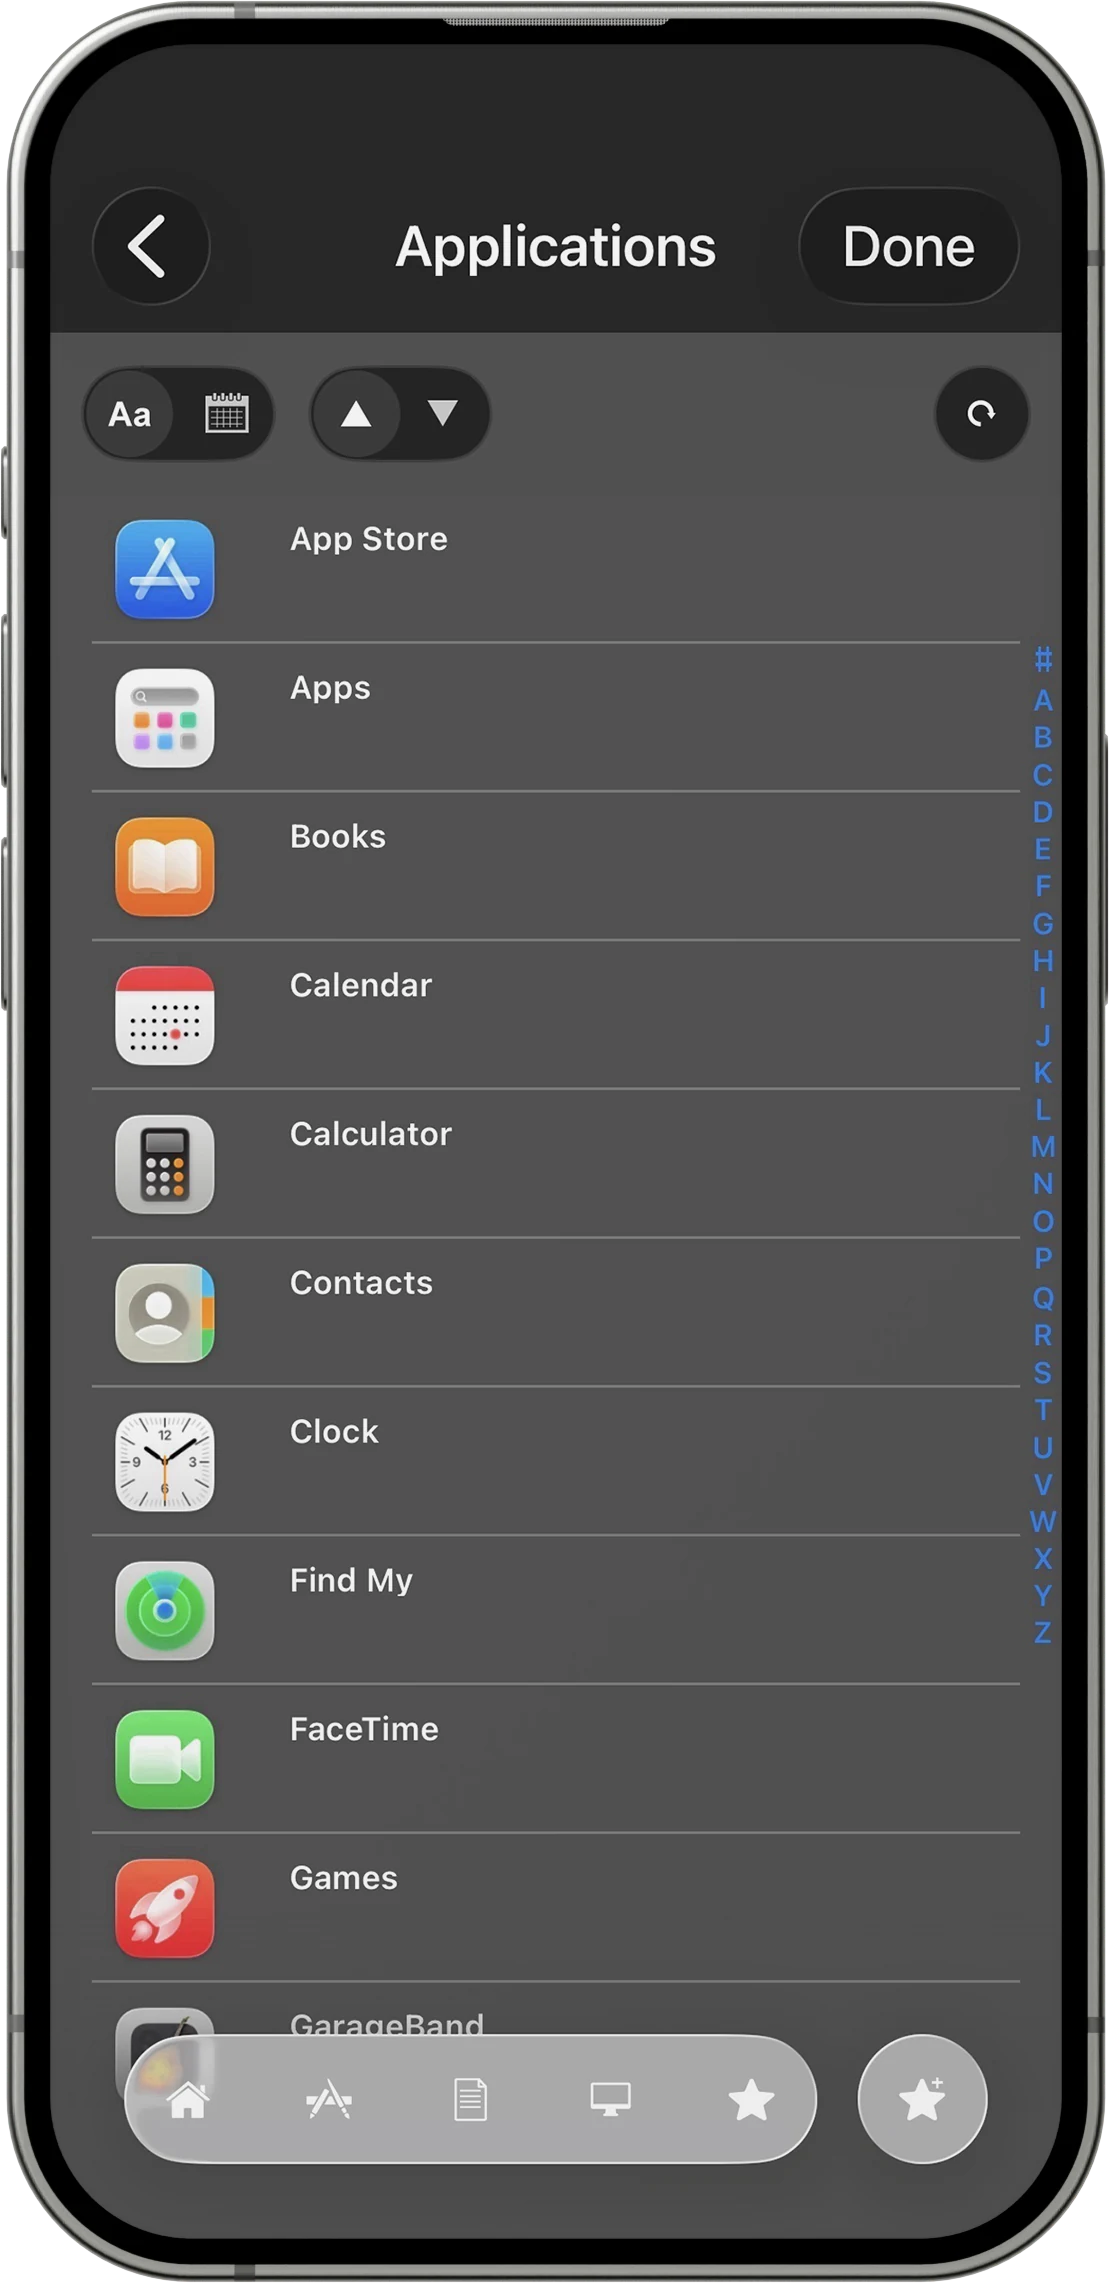
Open the folder control from the application switcher to browse the computer’s files, launch applications, and open documents.
Media remote
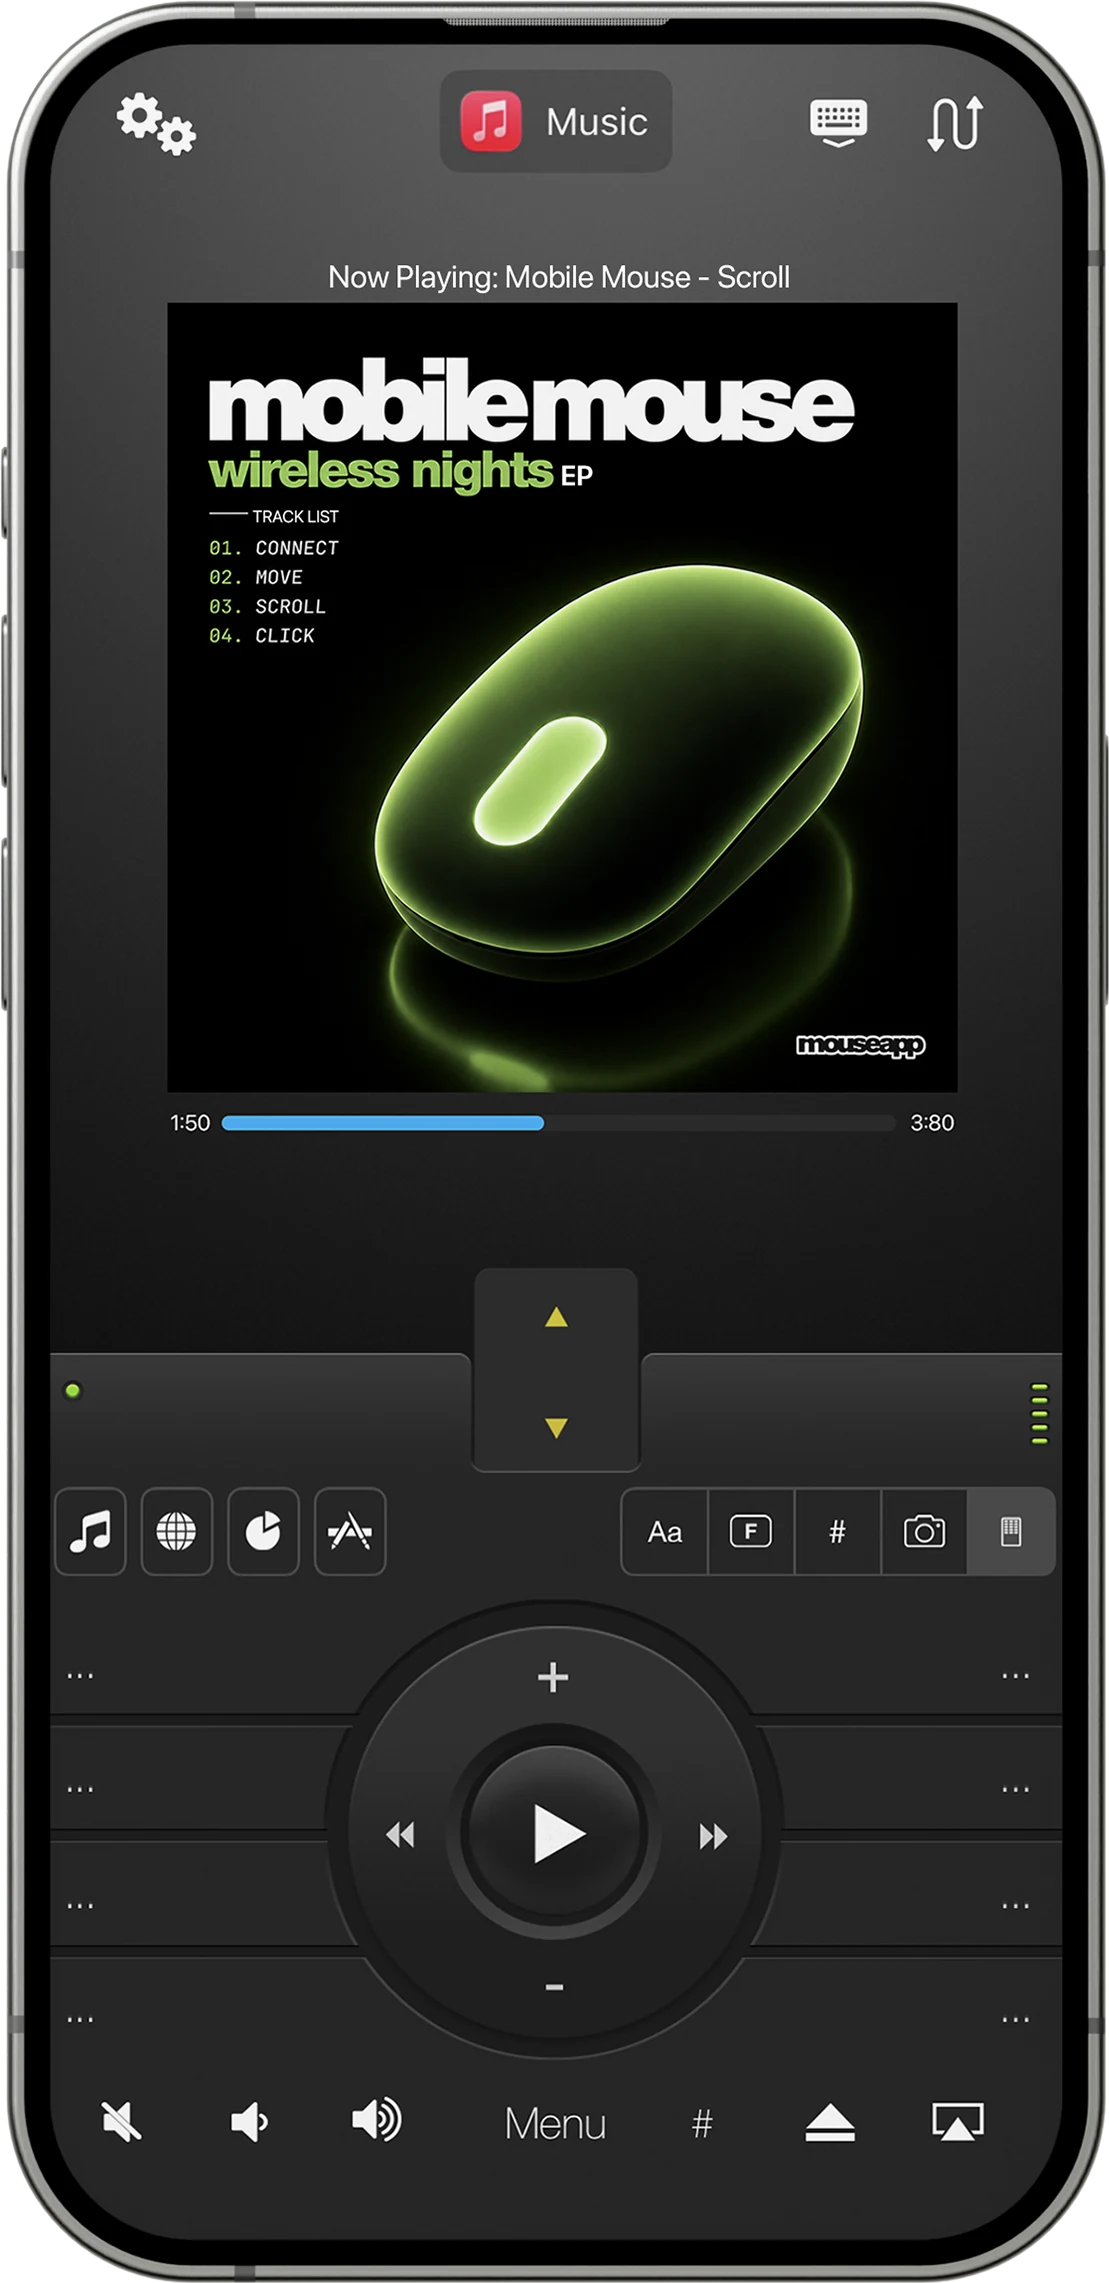
Use play/pause, previous, next, rewind, fast-forward, application controls, system volume, mute, menu, numeric input, and eject. The remote changes for supported media applications. Press and hold the music control to reveal universal system volume.
Web remote
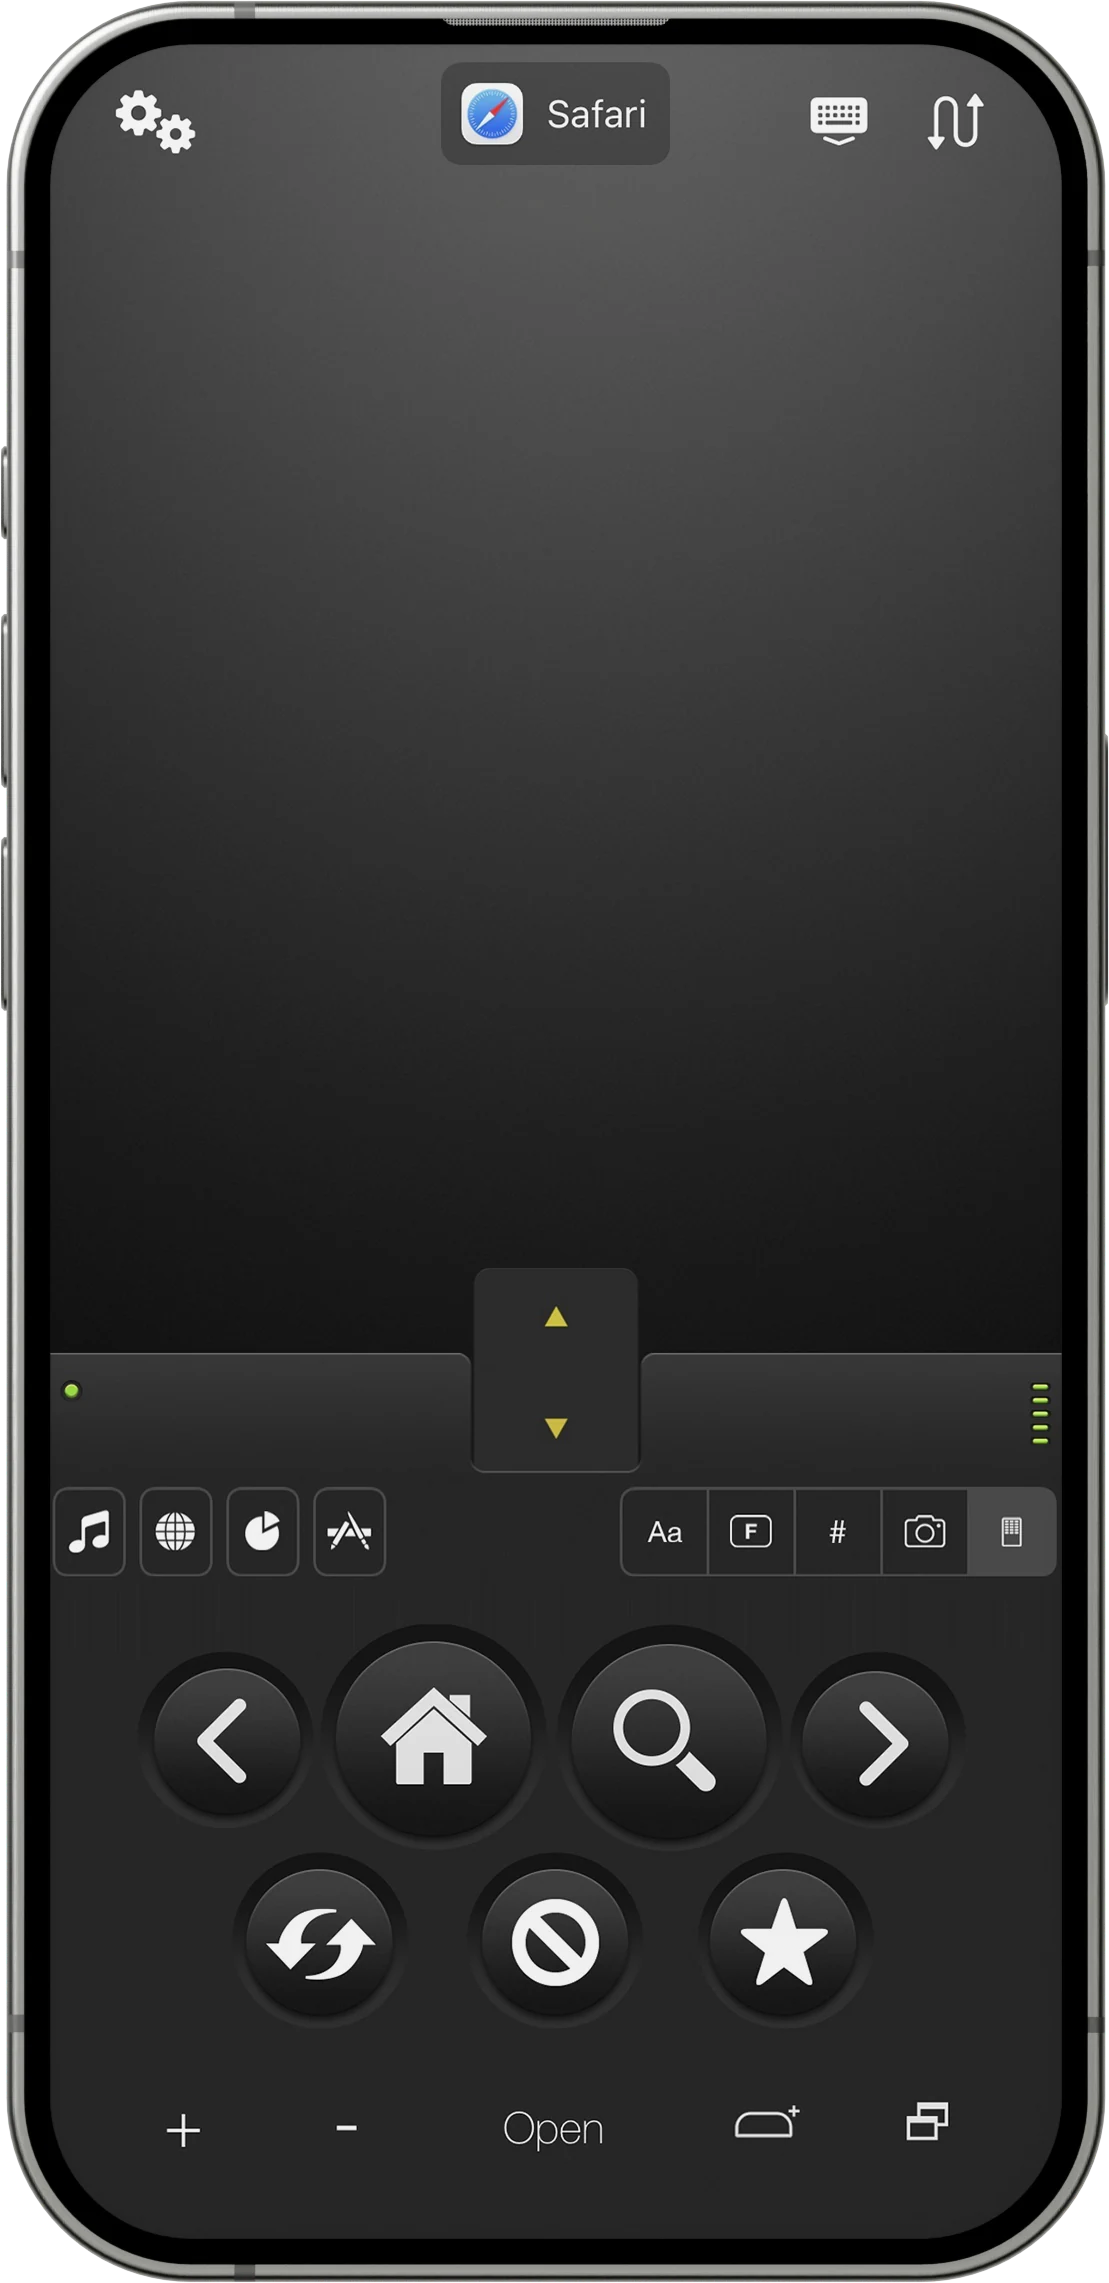
Control Back, Next, Search, Home, Reload, Stop, Bookmarks, zoom, and the browser address field from one screen.
Presentation — Basic
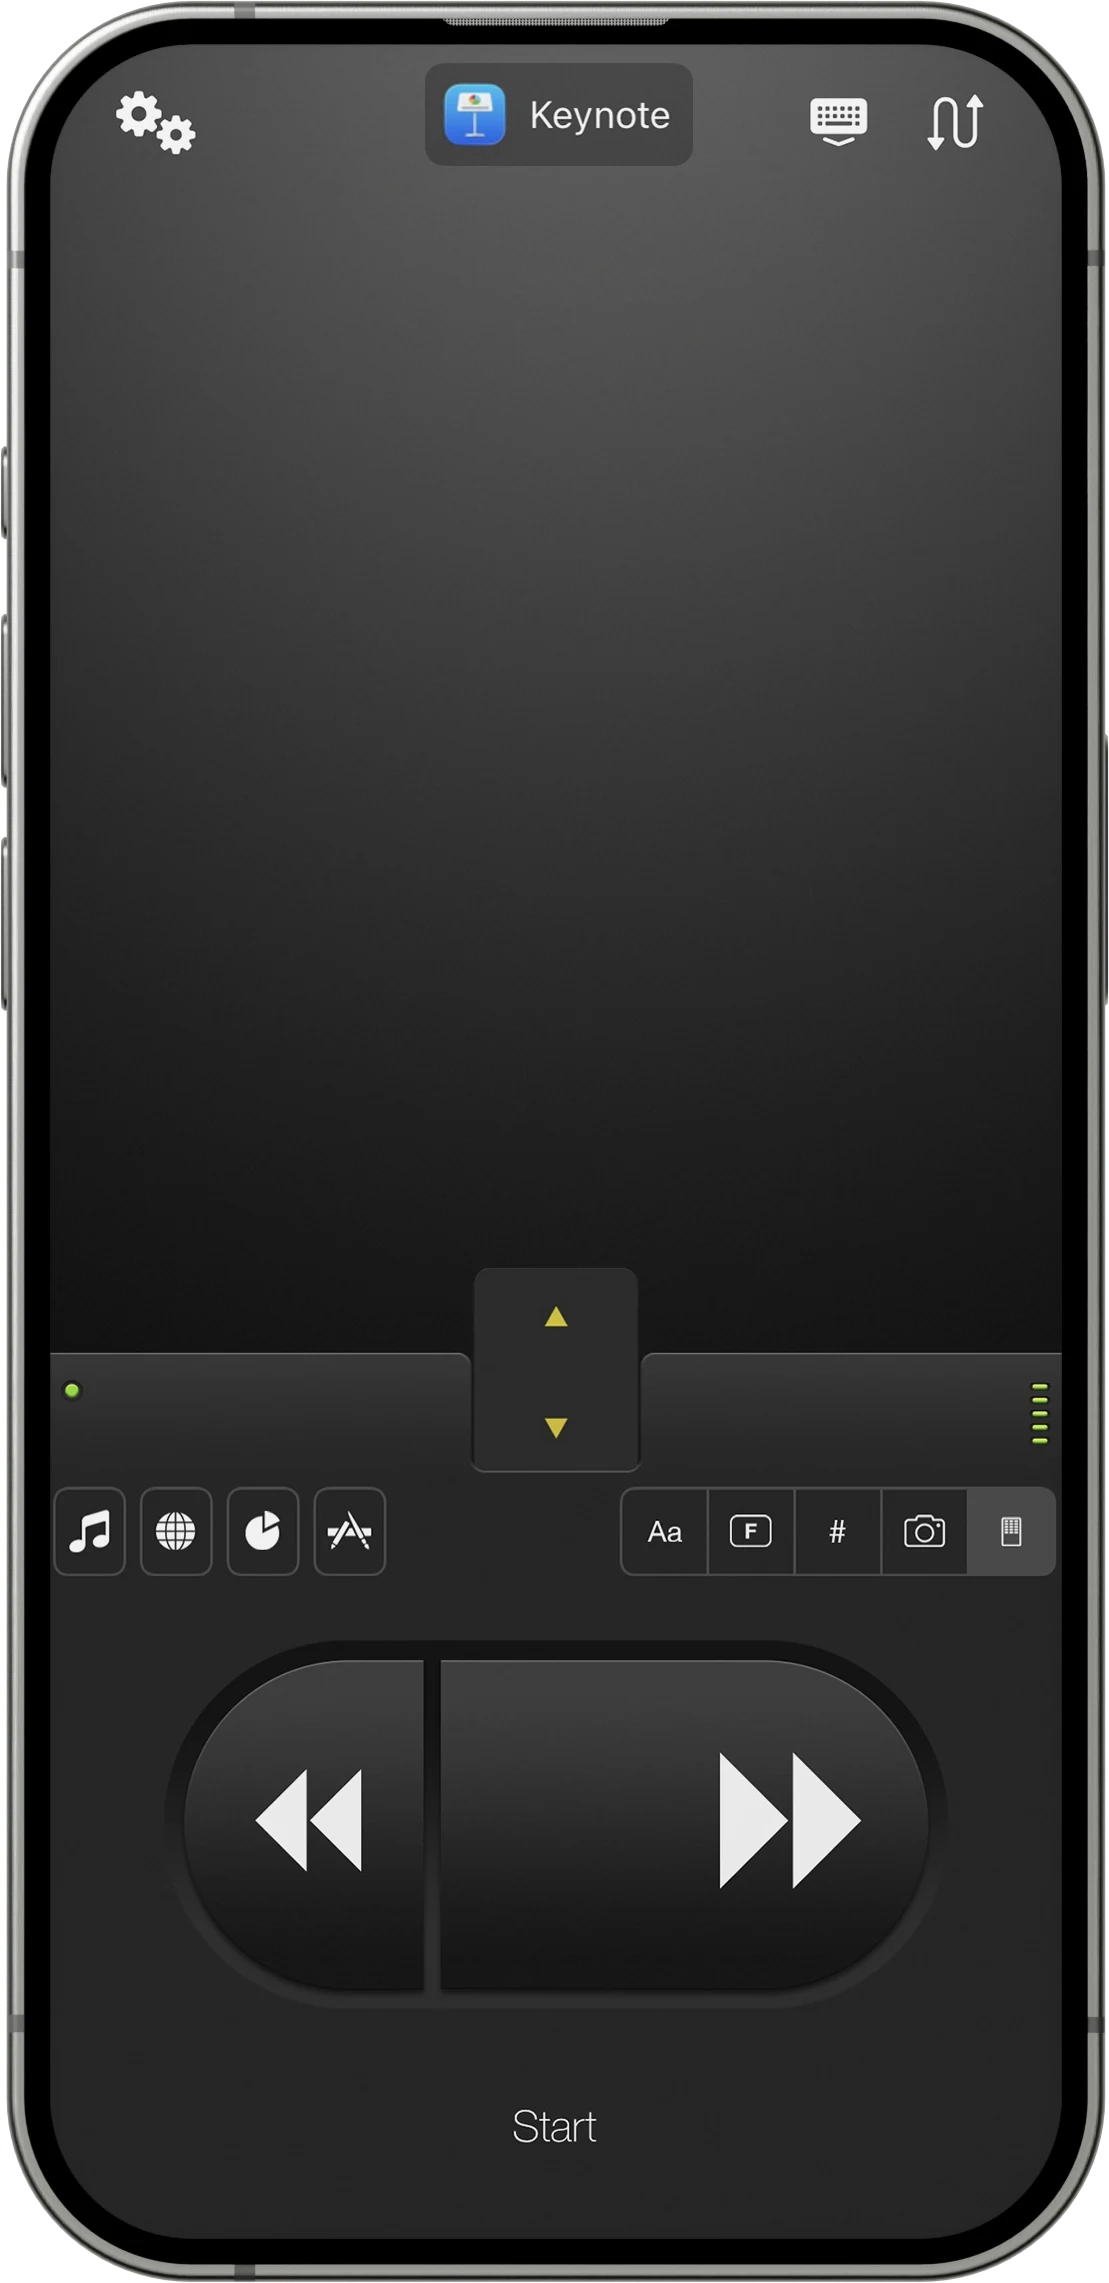
Use oversized Previous, Next, and Start/Stop controls without looking down. During a slide show, the current slide title and number appear in the remote.
Function keys and numeric keypad
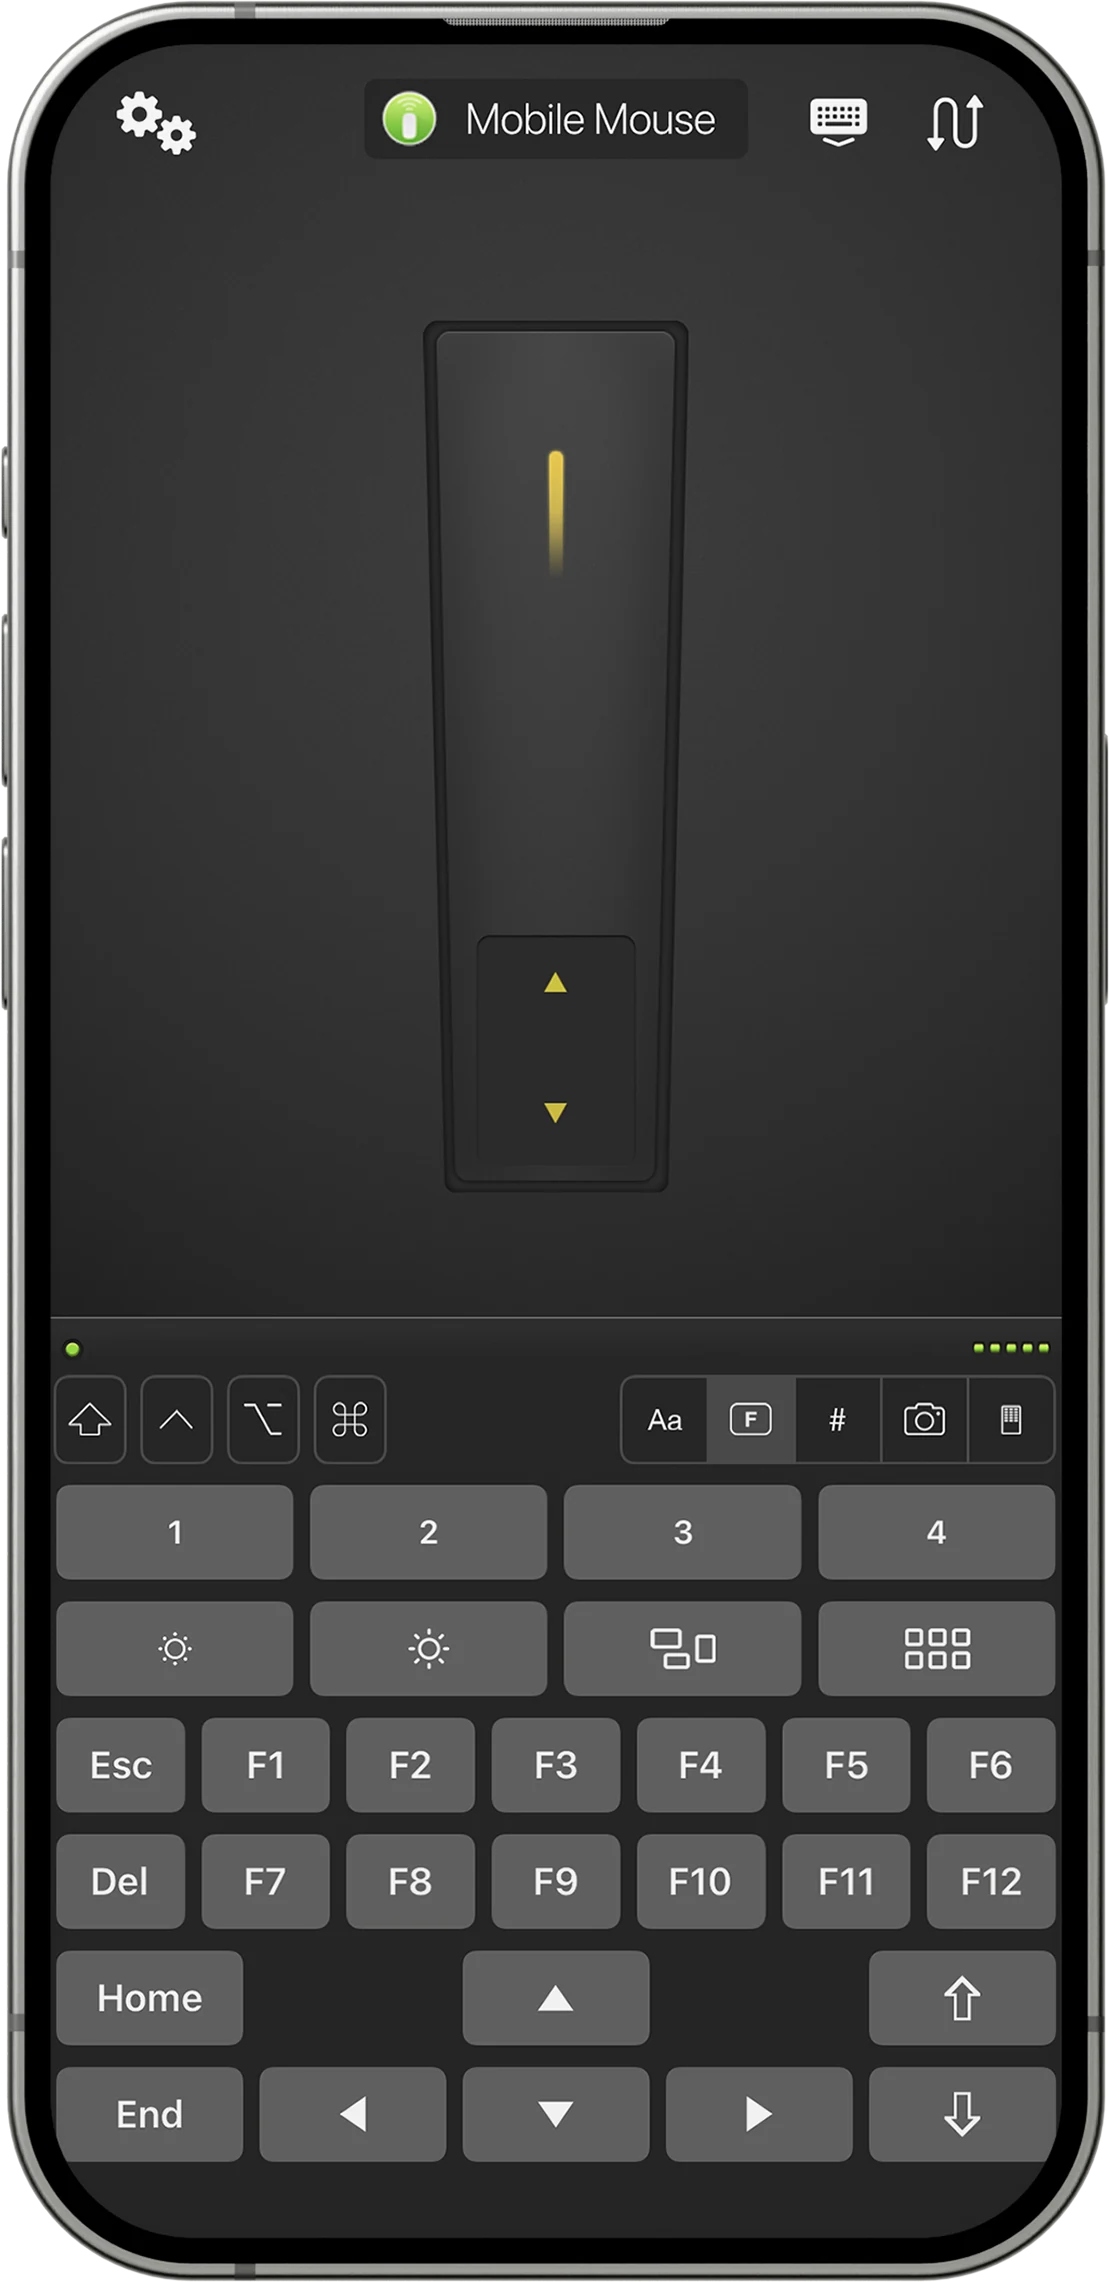
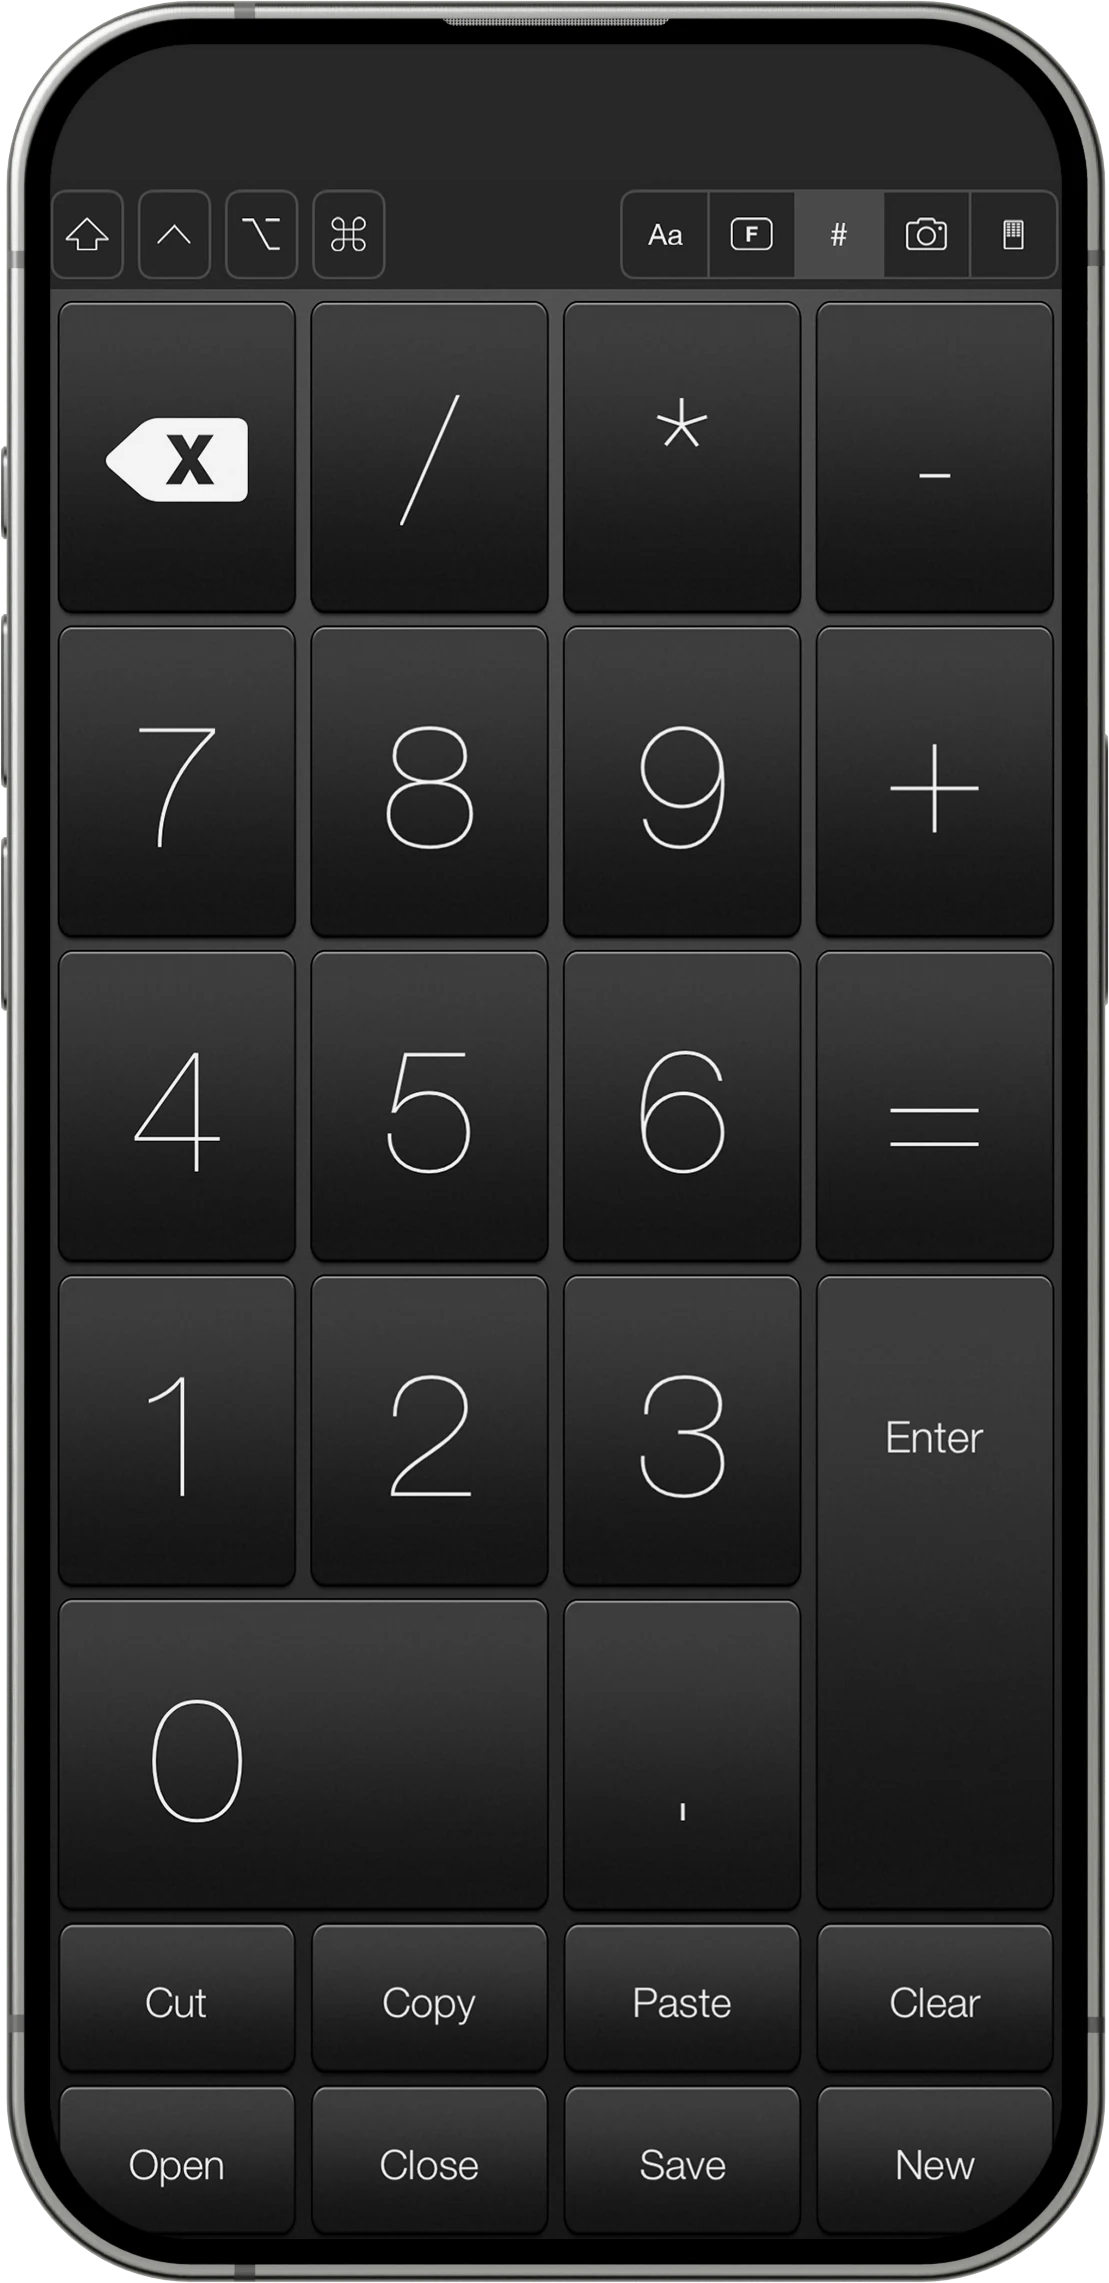
The function screen includes Escape, Delete, Home, End, Page Up, Page Down, arrows, and the standard function keys. Configure the four hotkeys and programmable scroll area in Mobile Mouse Server. The numeric keypad provides standard number-pad keys; use Shift for its alternate arrow layout.
Camera input
Camera input can send text, QR or UPC codes, photos, and scanned documents to the active computer application where supported.
Text: Point at recognized text and tap a highlighted region to type it on the computer. Pause the camera when you need a still image.
Code: Point at a QR or UPC code and tap its highlighted region to enter the decoded value.
Photo: Capture a photo or choose one from the library to insert it at the computer cursor. When the desktop is active, the image is saved to Downloads instead.
Document: Scan and straighten multiple pages, then send them as images or recognized text. When the desktop is active, images are saved to Downloads.
Graphic tablet — iPad and Apple Pencil only
Graphic Tablet mode turns your iPad and Apple Pencil into a pressure-sensitive drawing tablet for your Mac or PC. Open Graphic Tablet mode on the iPad, then draw with Apple Pencil to control a compatible drawing, photo, or design application on the connected computer.
Position: The tablet workspace on the iPad maps to the highlighted workspace on the computer. Moving Apple Pencil across the iPad moves the pointer through the corresponding area.
Pressure: Press lightly for a softer or thinner stroke and press more firmly for a stronger or thicker stroke when the computer application supports pressure-sensitive input.
Workspace size: Pinch on the iPad to resize the highlighted workspace on the computer when you want more precision or a larger drawing area.
Minimum pressure: Adjust Min Pressure in the tablet settings to control how firmly Apple Pencil must press before it begins drawing. Movement below that level controls the pointer without making a stroke.
This feature requires an iPad with Apple Pencil support and does not work on iPhone or with third-party styluses.
Preferences
Adjust the app to your workflow.
Servers and connection
Server List: Select among discovered or previously connected computers. If the list remains empty, confirm that the server is running and not blocked.
IP and Port: Enter a computer manually. Clear both values to return to automatic discovery.
Stay Connected: Attempts to preserve the connection while the device sleeps or the app is in the background, with possible battery impact.
Use UDP for mouse: Can reduce initial pointer lag on some networks.
Auto-wake server: Sends Wake-on-LAN to the most recently used server when the app opens.
Trackpad and gestures
Force Vertical: Prevents the trackpad from rotating to landscape.
Tap Click: Enables or disables clicking by tapping the trackpad.
Drag Lock: Keeps an item held after a tap-drag until you tap again or pause.
Pinch to Zoom: Uses a pinch gesture to zoom on supported systems.
Left Handed: Reverses mouse buttons and tap behavior for a left-handed computer setup.
Natural Scroll: Reverses the scrolling direction.
Frequency: Changes how often pointer data is sent. Higher values can feel smoother on fast networks; lower values may reduce lag on slow networks.
3 Finger Swipe: Uses three rather than four fingers for the swipe gesture, disabling the three-finger pan gesture.
Keyboard, sound, and screen
Sound: Enables or disables app sounds.
Key Buffer: Collects text on the device before sending it, useful for reviewing text, autocorrection, and keyboards that compose characters.
Enable Shake to Hide: Shows or hides the keyboard with a device shake.
Sleep: Controls whether the device may sleep while the app is open. Preventing sleep is useful during presentations but uses more battery.
Proximity Sensor: Turns off the display when the device is face down, useful when sleep is disabled.
Use volume buttons: Lets the device’s hardware buttons control computer volume; enabling it may interrupt audio playing on the device.
Call interrupts media: Pauses supported computer media—or mutes system audio—when a call arrives.
Tablet
Apple Pencil: Graphic Tablet mode requires a compatible Apple Pencil and iPad. It can control pressure-sensitive applications on either Mac or PC.
Tablet Min Pressure: Sets how firmly Apple Pencil must press before pointer movement becomes a pen stroke.
Wake a sleeping computer
Open App Settings and select the power control, then choose a remembered computer. Wake-on-LAN normally requires the computer to be connected to the router by Ethernet and may require additional operating-system or firmware configuration. Mobile Mouse sends the wake packet, but the computer must already be configured to respond to it.
Apple Watch
Control without taking out your phone.
Connect and choose a mode
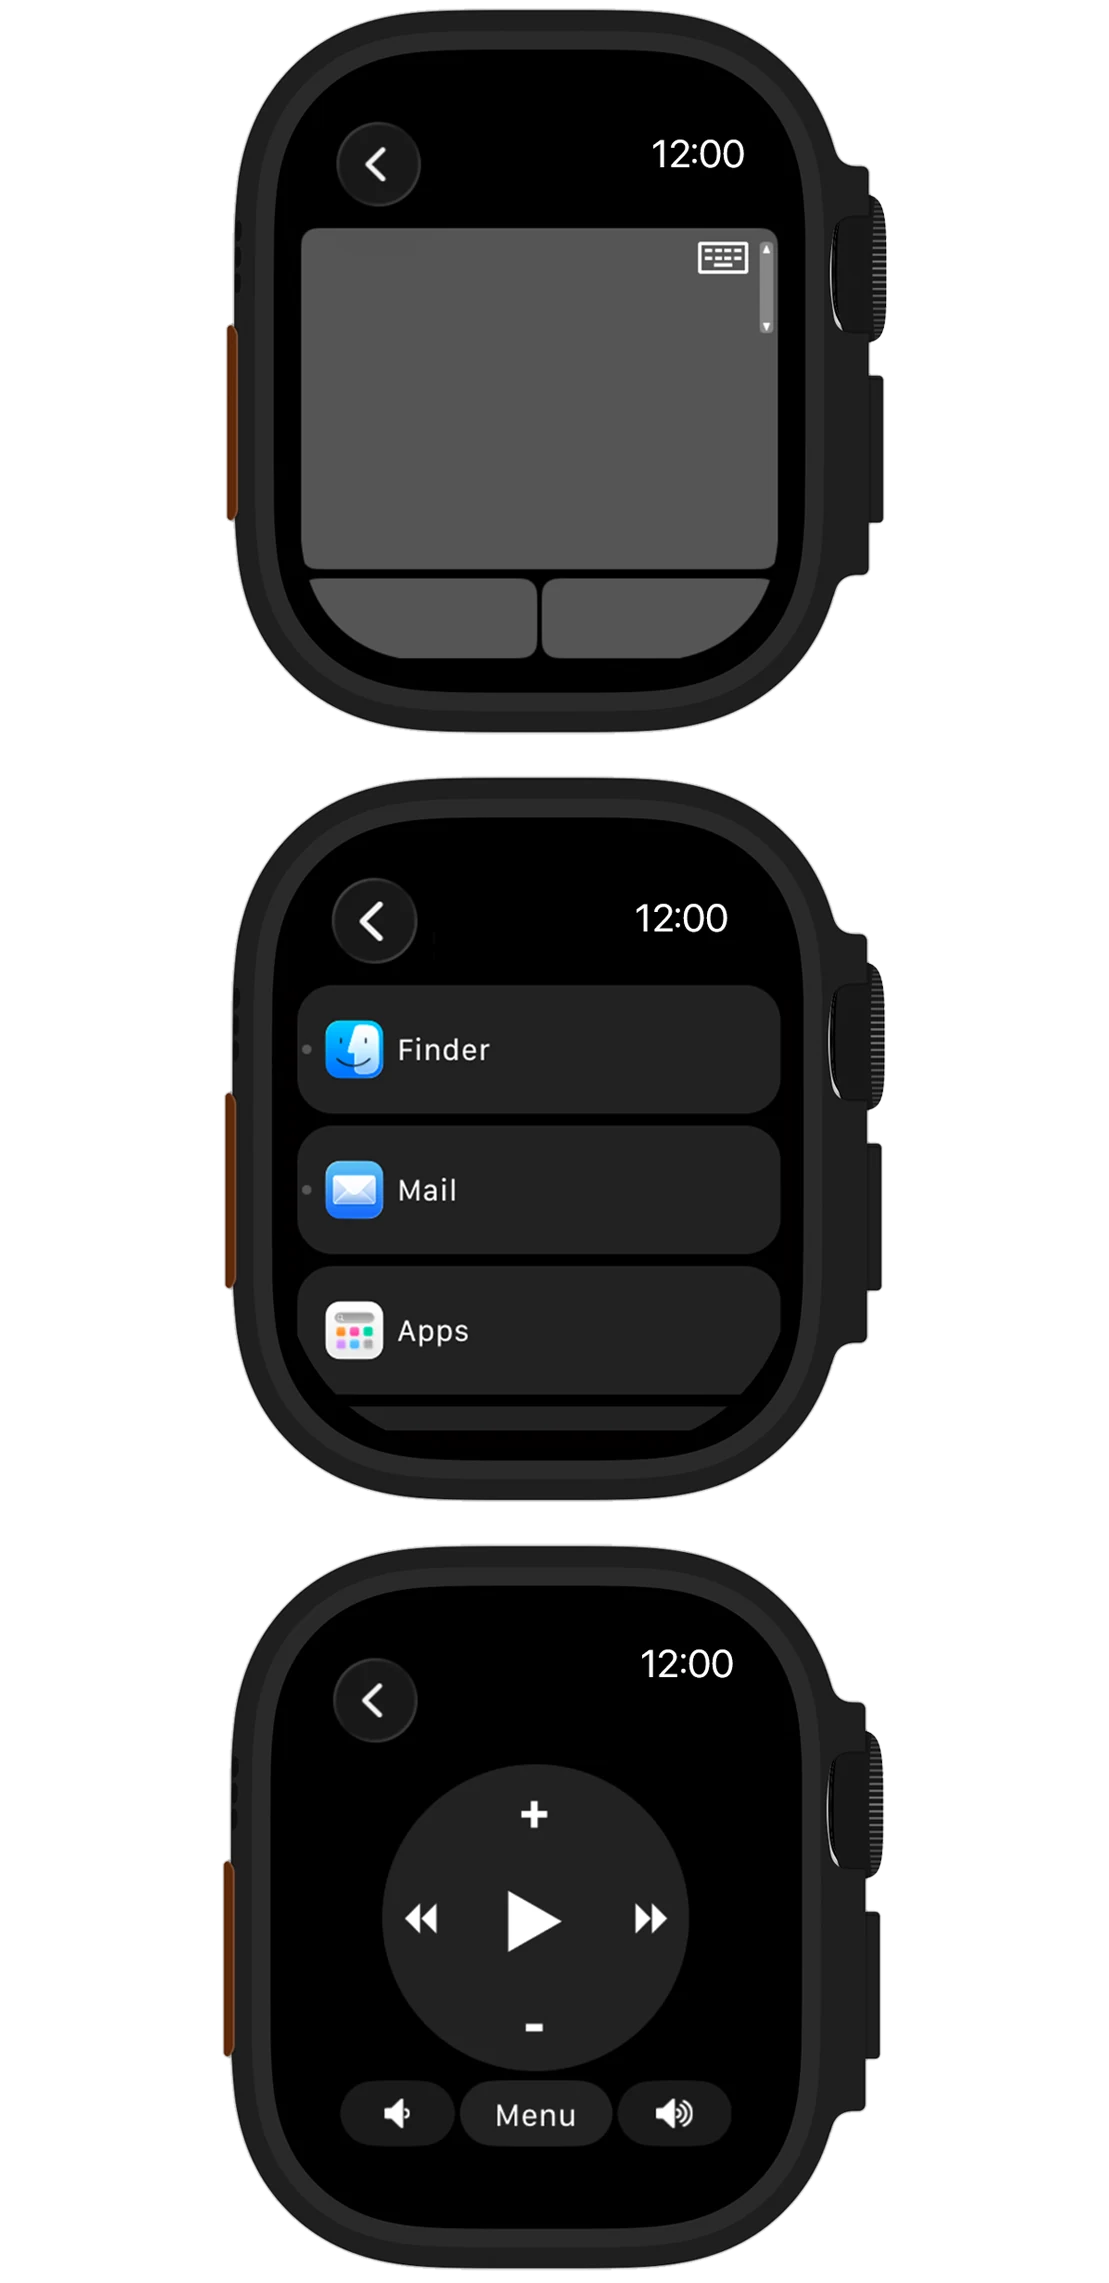
The Watch app connects to the last computer used by Mobile Mouse on the iPhone. Its settings list remembered computers, allow a server to be added manually, and let you swipe to remove one. Choose Trackpad, Media, Presentation, or App Switcher.
Media
Control the frontmost supported player with play/pause, previous, next, and computer volume. Supported music applications can also show track information and artwork. Turn the Digital Crown to change volume.
Trackpad
Move across the watch display to control the computer pointer, use the left and right mouse buttons below it, and turn the Digital Crown to scroll.
Presentation
For unsupported presentation software, use the simple Previous and Next remote with any slideshow that accepts arrow keys. Supported Keynote and PowerPoint versions can use the Basic remote with slide number and title, or the legacy Pro upgrade with a slide preview and timer. On Watch versions that support it, press firmly to start, stop, or configure the timer.
App Switcher
Browse the computer’s running applications and tap one to bring it forward—especially useful before opening its media remote. On Watch versions that support it, press firmly to switch between all applications and managed applications that have built-in remotes.
Having trouble?
Let’s get you back in control.
Follow the troubleshooting guide for your connection, mouse, keyboard, or Cloud access.
 Mac 10.14+
 Windows 10+